Acclimatising at home for a mountain expedition: here’s how to do it
Published 12 October 2025 · 8 min read
Written by the expert team at Altitude Dream
Acclimatising properly is the difference between enjoying yourself at the summit and having to turn back with headaches, nausea or insomnia. The good news: you can already prepare much of that acclimatisation at home. In this complete guide, you will learn exactly how to do that safely, measurably and effectively, with and without an altitude tent. We give you worked-out weekly plans, SHTL strategy, nutrition and iron tips, and clear traffic lights to prevent overexertion.
1. Why acclimatising at home works
Your body adapts at altitude through increased breathing stimuli, increased ventilation, changes in blood and a range of hormonal adjustments. You can start that process even before you leave. With controlled hypoxia, you excite the same systems as in the mountains, so you acclimatise faster and more comfortably on site. Result: fewer complaints, better sleep, more margin in your daily schedule and a higher chance of reaching your goal.
For whom is this useful: treks to 3,000 to 5,500 m, expeditions such as Kilimanjaro, Aconcagua or EBC, alpine routes with sudden high hut starts, and teams that need to perform at altitude.
2. The 6 basics of safe altitude acclimatisation
- Step by step increasing your effective height. Small steps work better than big jumps.
- Monitoring target values: morning SpO2, resting heart rate, sleep quality, subjective fatigue.
- Sufficient recovery: reinforce the stimulus, but plan recovery blocks.
- Hydration and energy: hypoxia increases breathwork and fluid loss. Drink and eat sufficiently.
- Taking symptoms seriously: headache, nausea, poor sleep are signals to scale down.
- Individualise: if you react more sensitively, choose a lower stimulus and more recovery days.
3. Tools and measurement: this is how to stay in control
- Pulse oximeter: measure your SpO2 and resting heart rate every morning while seated. Target values during home acclimatisation: nighttime SpO2 averages around 90 to 94 per cent depending on target altitude, with acceptable dips above 85 per cent limited in duration.
- HRV or resting heart rate: simple proxy for load. Morning RHR rising 5 to 8 beats from baseline is a signal to lower or take a rest day.
- Sleeping position and ventilation: at altitude, supine sleep sometimes helps against desaturations, but try to maintain your normal sleeping pattern.
- Checklist of symptoms: 0 none, 1 mild, 2 noticeable, 3 substantial. Score headache, nausea, sleep, dizziness, energy.
4. Methods without a high altitude tent
Without equipment, you can already prepare with the following building blocks:
- Intermittent hypoxic breathing via breathing techniques that increase ventilation. This provides limited stimulus, but can encourage habituation to increased breath drive.
- Breathing and CO2 tolerance training such as controlled breaths. Do this easily and safely, sitting down and without provoking dizziness.
- Pre-sleep routine: limit caffeine after noon, avoid alcohol, bedroom cool and quiet. Sleep is your biggest recovery mechanism at altitude.
- Weekend at middle height if possible, for example, 1 to 2 nights around 1,800 to 2,500 m to give the initial stimulus already.
Note that without controlled hypoxia, the dose is difficult to control. For expeditions above 4,000 m, we usually recommend a combination with an altitude tent.
5. Acclimatising at home with an altitude tent
An altitude tent simulates altitude by reducing oxygen concentration. You sleep or rest in an environment equivalent to, say, 2,500 to 4,500 m. This makes the stimulus predictable and safe to dose.
Target values and settings
- Start around 2,000 to 2,200 m equivalent, 7 to 8 hours per night.
- Step by step increase by 200 to 300m every 2 nights, as long as you sleep well and your morning markers remain stable.
- SpO2 target: average night 90 to 94 per cent, minimum nightly dips as short as possible.
- Ventilation: ensure adequate flow through the tent and change filters in good time.
Common mistakes
- Moving up too quickly.
- Continue in case of obvious symptoms or poor sleep.
- Also train heavily in hypoxia during the day. For most expedition goals, sleep hypoxia plus normal training is more effective.
Want to hire a professional set, including guidance and 24/7 support? Check out rent a height tent. Want to know more about the principle behind sleeping at altitude and training below?
6. Practical 4-week schedule per expedition goal
The schedules below are guidelines. Adjust based on your measurements and feelings. Days with no mention are normal training at sea level with focus on duration, technique and strength.
Target A: Trekking up to 4,000 m
- Week 1: 6 nights at 2,200m, 1 rest night at sea level.
- Week 2: 3 nights 2,400m, 3 nights 2,700m, 1 rest night.
- Week 3: 3 nights 3,000m, 3 nights 3,200m, 1 rest night.
- Week 4: 2 nights 3,400m, 2 nights 3,600m, 2 nights 3,800m, 1 rest night. Reduce last 2 nights to 3,200 m if sleep or RHR deteriorates.
Target B: Kilimanjaro, EBC, 4,500 to 5,500 m
- Week 1: 6 nights 2,300m, 1 rest night.
- Week 2: 3 nights 2,700m, 3 nights 3,000m, 1 rest night.
- Week 3: 2 nights 3,300m, 2 nights 3,600m, 2 nights 3,900m, 1 rest night.
- Week 4: 2 nights 4,100 m, 2 nights 4,300 m, 2 nights 4,500 m, 1 rest night or taper at 3,200 m for better sleep in the last 48 hours.
Target C: Alpine climbs with rapid altitude gain
- Week 1: 6 nights 2,400m, 1 rest night.
- Week 2: 3 nights 2,800m, 3 nights 3,100m, 1 rest night.
- Week 3: 2 nights 3,400m, 2 nights 3,700m, 2 nights 4,000m, 1 rest night.
- Week 4: 2 nights 4,200m, 2 nights 4,400m, 2 nights 4,600m, 1 rest night. Plan the last 2 nights lower if your summit day is early in the trip.
Tip: Plan 1-2 rest nights at sea level per week to ensure sleep quality and recovery. Sleep is sacred.
7. Sleep High Train Low: here's how to apply it at home
The gist: you sleep at altitude for adaptations, but train largely at sea level to maintain quality. So you combine the best of both worlds. A practical weekly schedule:
- Monday: night in altitude tent, daytime quiet duration or strength below sea level.
- Tuesday: night in altitude tent, daytime quality workout at sea level.
- Wednesday: rest night, mobility and light core.
- Thursday: night in altitude tent, daytime expensive.
- Friday: night in altitude tent, short temps.
- Saturday: rest night and longer outdoor session.
- Sunday: night in altitude tent, recovery run or hike.
8. Nutrition, iron and recovery
- Hydration: aim for 35 to 45 ml per kg body weight per day, plus extra if sweating. Clear urine is a simple check.
- Carbohydrates: hypoxia increases carbohydrate consumption. Eat sufficient complex carbohydrates around workouts and before sleep.
- Protein: 1.6 to 2.0 g per kg body weight per day to support recovery.
- Iron status: have ferritin, Hb and possibly B12 checked 6 to 8 weeks before departure. Low ferritin can inhibit adaptation. Supplement only in consultation with doctor or dietician.
- Vitamin D and antioxidants: support immunity, but avoid megadoses of antioxidants immediately after stimuli that can dampen training effect.
- Alcohol: limit in the first 48 hours of a new altitude stimulus.
9. Stoplights: when to proceed, adjust or stop
| Status | Features | Action |
|---|---|---|
| Green | SpO2 night 90 to 94, sleep okay, RHR within 3 beats baseline, no headache | Next step 200 to 300 m up or consolidate current altitude |
| Orange | SpO2 87 to 90, mild headache, RHR plus 4 to 6, moderate sleep | 1 to 2 nights stabilising or 200 to 300 m down, extra hydration, light exercise |
| Red | SpO2 below 86, severe headache, nausea, repeated poor sleep | Stop hypoxia, lower drastically, consider physician. Do not rebuild plan until symptoms are gone. |
10. Mini packing list for altitude
- Pulse oximeter and sufficient batteries
- Light headlamp, category 3 or 4 sunglasses
- Thermos, electrolytes, fast-carb snacks
- Cap, buff, sunscreen SPF 50
- Sleep mask and cabin earplugs
- Possibly medication in consultation with doctor
Professional guidance and equipment
Want to make sure your schedule is correct, your tent is adjusted correctly and your measurements are interpreted correctly? Our team guides hundreds of mountain athletes every year. Get in touch via Contact or check out our options: rent a height tent
Frequently asked questions
How long should I acclimatise at home for a trek up to 5,000m
Target 3 to 4 weeks with 5 to 6 nights of hypoxia per week. Build up to 4,300 to 4,500 m equivalent with 1 to 2 rest nights per week.
Can I also only prepare with weekends in the midlands
This helps, but is less predictable. Preferably combine it with sleep hypoxia or plan extra acclimatisation days locally.
Can I also do interval training in the tent
For expedition goals, this is usually not necessary and it often disrupts your sleep. Train quality at sea level and keep hypoxia primary for night.
What if I am prone to altitude sickness
Start lower, take smaller steps, plan extra rest nights and consider preventive strategies in consultation with your doctor. Get your iron status checked on time.
When to stop immediately
In case of severe headache, persistent nausea, confusion or SpO2 below 86 per cent. Lower the stimulus immediately and contact a doctor.
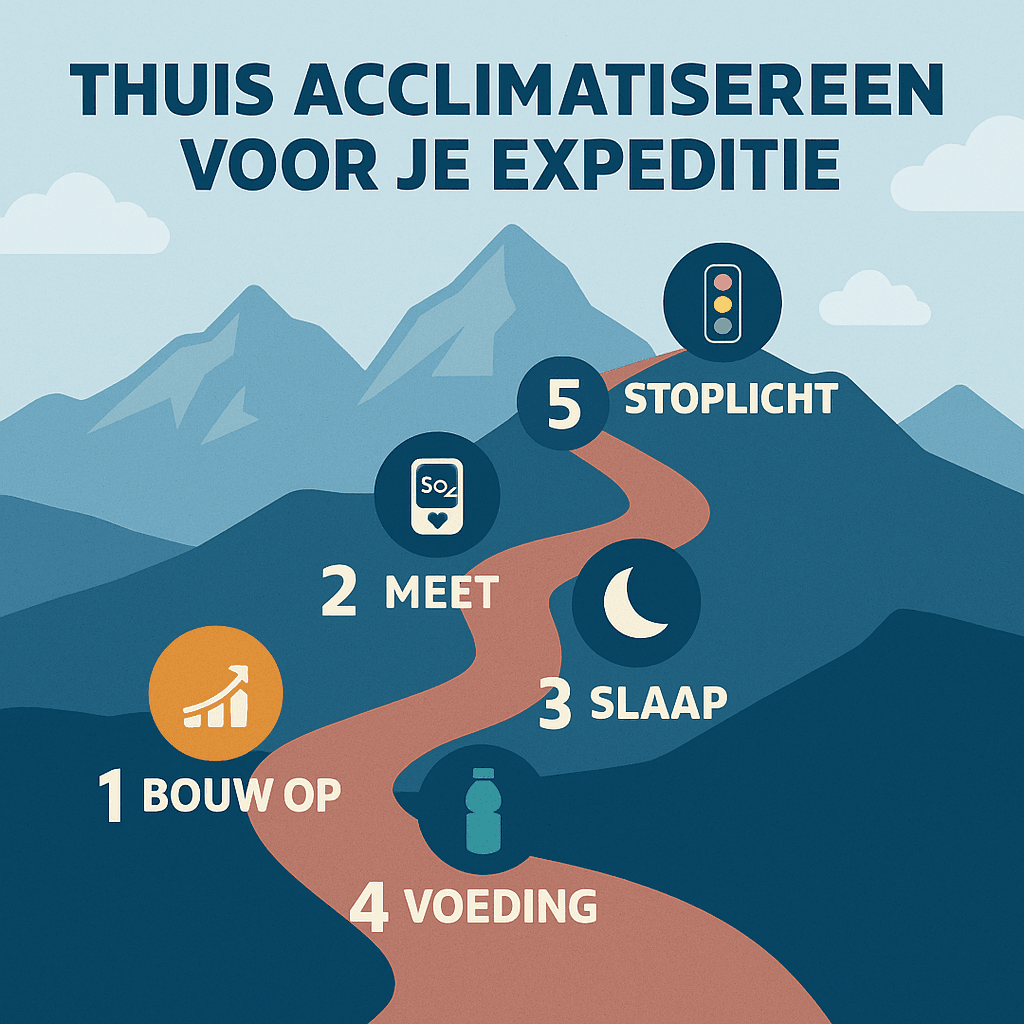
 Acclimatising at home in 5 clear steps.
Medical disclaimer: this guide is informative and not a substitute for medical advice. In case of doubt or existing conditions, consult your doctor.